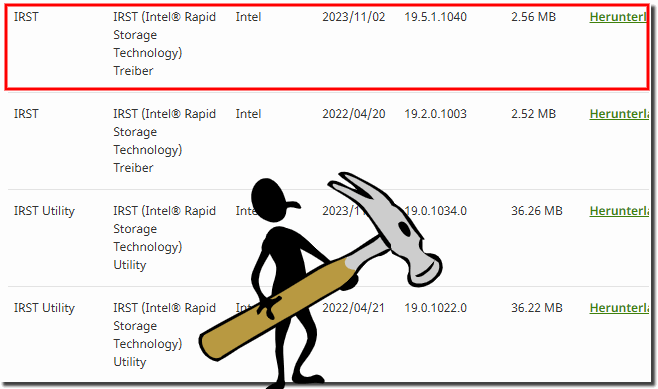
On systems with 11th generation Intel Core i processors (Tiger Lake platform), SATA hard drives may not be recognized during a manual installation of Windows 10.Explanation and instructions:Reason: The new features of this platform require the installation of a special driver for Intel Rapid Storage Technology (iRST) so that SATA drives are recognized during installation. 1. Solution steps:
|
| (Image-1) Notebook with Linux(eShell) and Windows installation problem with acer! |
 |
![]()
3.) Tips on: if the NVMe SSD drive is not recognized:
is not recognized during Windows installation, there are several possible causes and solutions:
1. Check BIOS/UEFI settings
- Set SATA Mode to NVMe :
1. Boot up your computer and enter BIOS/UEFI (usually by pressing `F2`, `Del`, `Esc` or another key at startup).
2. Make sure SATA Mode is set to AHCI or NVMe
3. Secure Boot : If enabled, you can temporarily disable this to ensure the installation media boots correctly.
- CSM or UEFI Mode :
- If you are installing in UEFI mode , make sure Boot Mode is set to UEFI .
- If your motherboard supports CSM (Compatibility Support Module) , you can enable this option if the NVMe drive is still not recognized.
2. Load NVMe drivers manually
- Some older versions of Windows (especially Windows 7 or older installers) do not include NVMe drivers.
- Solution :
1. Obtain the NVMe driver from the motherboard or laptop manufacturer (or SSD manufacturer).
2. During Windows installation, if the drive does not appear, click Load Driver .
3. Load the drivers from a USB stick or other source.
3. Update Windows installation media
- If you are installing Windows 10 or 11, make sure you are using the latest version of the installation media.
- Use the [Media Creation Tool]( https://www.microsoft.com/software-download/windows) to download the latest ISO file and create a new installation media.
- Newer versions of Windows already have NVMe support built in.
4. Check partition table
- The NVMe drive might be in an incompatible format (e.g. GPT or MBR).
1. Start the Windows installer.
2. Open the command prompt with `Shift + F10`.
3. Type `diskpart` and then `list disk` to make sure the drive is shown.
4. If it is shown, convert it using the following commands:
select disk [ Number ]
clean
convert gpt
- After that, the drive should be visible in the installer.
5. Update firmware and drivers
- BIOS firmware : Check if there is an update for the BIOS that may fix NVMe issues.
- SSD firmware : If possible, update the NVMe drive firmware (via manufacturer tools).
6. Test NVMe drive
- If the drive is still not recognized, test it on another computer or use a live Linux system to check if the NVMe drive is visible there. A defective drive cannot be ruled out.
If none of these steps help, please provide the exact hardware configuration (motherboard/manufacturer, SSD model, etc.) to provide more targeted assistance.
FAQ 132: Updated on: 29 November 2024 09:42
